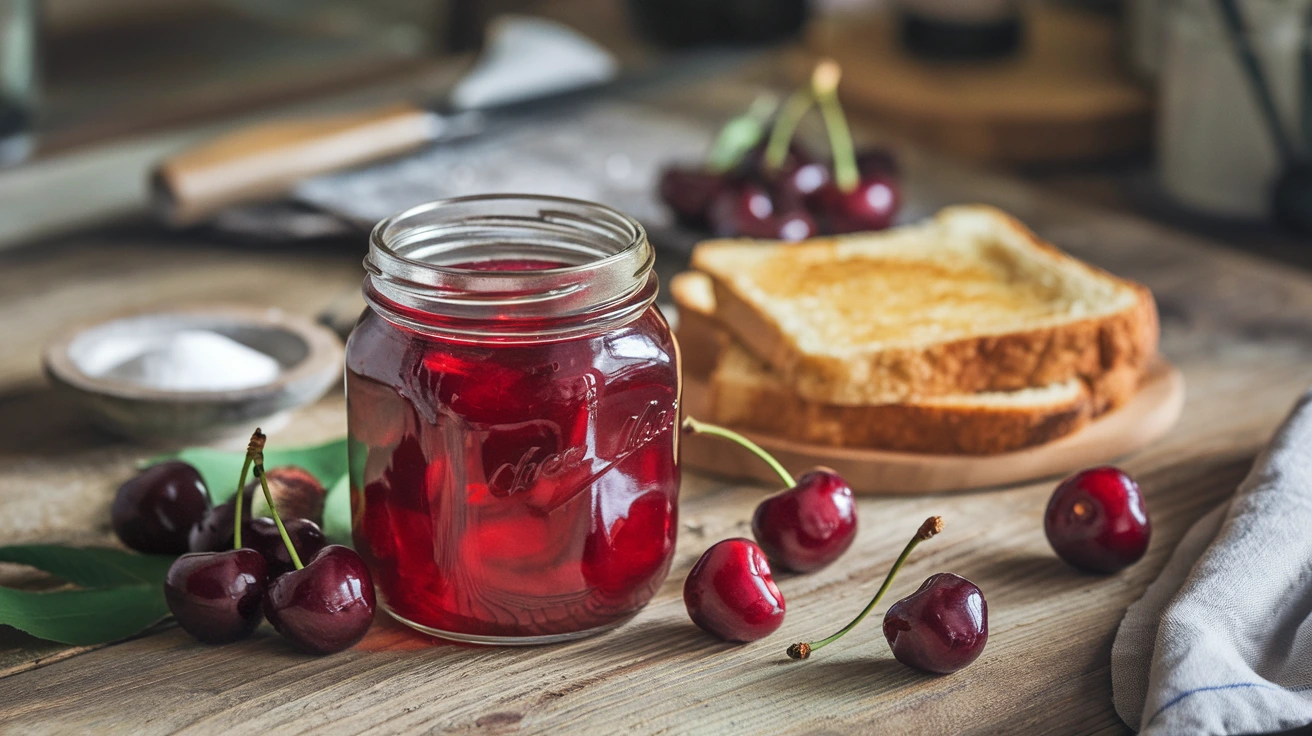
Cherry Jelly Recipe: A Delicious Homemade Delight
This cherry jelly recipe is the perfect choice if you want a sweet and tangy treat. Made with fresh cherries, this jelly is full of natural flavours and makes an excellent topping for toast, desserts, and even savoury dishes. Whether you are a beginner or an experienced cook, our step-by-step guide will help you create flawless cherry jelly at home.
What is Cherry Jelly?
Cherry jelly is a smooth, translucent spread made by extracting the juice from cherries and cooking it with sugar and pectin. Unlike jams, jelly has a firm texture and a straightforward appearance, making it a versatile addition to breakfasts and desserts. Cherry jelly is known for its rich, fruity flavour and vibrant colour, which can brighten up any dish.
Ingredients for Cherry Jelly Recipe
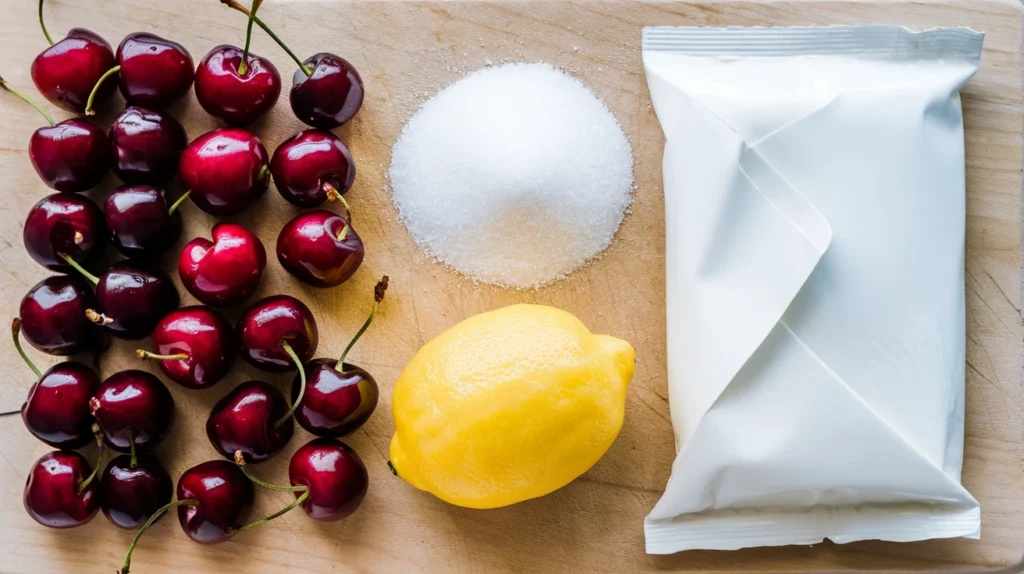
To make the perfect cherry jelly, you will need the following ingredients:
- 4 cups of fresh cherries, pitted and halved
- 4 cups of water
- 3 1/2 cups of granulated sugar
- 1 package of powdered pectin
- 2 tablespoons of lemon juice
Optional Ingredients:
- 1 teaspoon of vanilla extract for added flavour
- 1/2 teaspoon of cinnamon for a spicy kick
Preparation and Cooking Time
- Preparation Time: 20 minutes
- Cooking Time: 40 minutes
- Total Time: 1 hour
Step-by-Step Instructions for Making Cherry Jelly
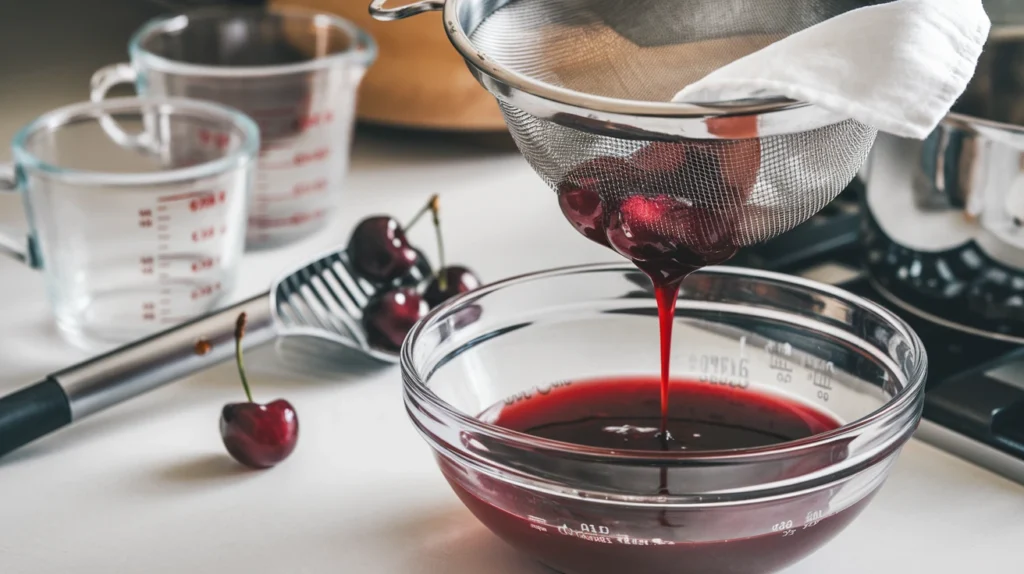
Step 1: Prepare the Cherry Juice
- Place the cherries in a large saucepan and add water.
- Bring the mixture to a boil, then reduce the heat and let it simmer for 15-20 minutes until the cherries are soft.
- Strain the mixture through a fine mesh sieve or cheesecloth, pressing gently to extract all the juice.
- Measure 3 1/2 cups of cherry juice for the jelly.
Step 2: Cook the Jelly
- Combine the cherry, lemon, and powdered pectin in a large pot.
- Bring the mixture to a rolling boil over medium heat, stirring constantly.
- Add the sugar gradually, stirring continuously to dissolve.
- Allow the mixture to boil rapidly for 1-2 minutes until it reaches a gel-like consistency.
- Remove from heat and skim off any foam from the surface.
Step 3: Pour and Seal
- Pour the hot jelly into sterilized jars, leaving about 1/4 inch of headspace.
- Wipe the rims clean, then seal them with lids and bands.
- Process the jars in a boiling water bath for 10 minutes.
- Allow the jars to cool completely before storing.
Cooking Tips for the Perfect Cherry Jelly
- Choose ripe cherries for the best flavour and natural sweetness.
- Always use fresh lemon juice to enhance the tartness and balance the sweetness.
- Avoid overcooking, as it can result in a rubbery texture.
- A candy thermometer ensures the mixture reaches the ideal setting point (220°F or 104°C).
- Store jelly in a cool, dark place for a longer shelf life.
Nutrition Information for Cherry Jelly
Per tablespoon serving:
- Calories: 50
- Carbohydrates: 13g
- Sugars: 12g
- Fat: 0g
- Protein: 0g
Cherry jelly is naturally gluten-free and can be made vegan by ensuring the sugar used is plant-based.
Serving Suggestions
- Spread cherry jelly over warm buttered toast or freshly baked scones.
- Use it as a topping for cheesecakes, pancakes, or waffles.
- Add a spoonful of yoghurt or oatmeal for a fruity twist.
- Pair it with roasted meats such as pork or turkey for a sweet contrast.
Frequently Asked Questions (FAQs) About Cherry Jelly
Q1: Can I use frozen cherries for this recipe? A1: Frozen cherries work well but must be thawed and drained before use.
Q2: How long does homemade cherry jelly last? A2: When stored in sterilized jars in a cool, dark place, it can last up to 1 year.
Q3: What if my jelly doesn’t set properly? A3: If your jelly doesn’t set, reboil it with additional pectin and sugar.
Q4: Can I make cherry jelly without pectin? A4: Yes, but you may need to cook it longer to achieve the desired consistency.
Why This Cherry Jelly Recipe Stands Out
- Uses fresh cherries for an authentic flavour.
- Easy-to-follow step-by-step instructions.
- Perfectly balanced sweet and tart taste.
- It is versatile and can be customized with different flavours.
Storage and Reheating Tips
- Storage: Store unopened jars in a cool, dark place for up to 1 year.
- Refrigeration: Once opened, keep it in the refrigerator and consume it within 3 weeks.
- Reheating: If the jelly thickens too much, warm it slightly to regain spreadability.
If you enjoyed this recipe, read our other tasty recipes for more delicious ideas.